


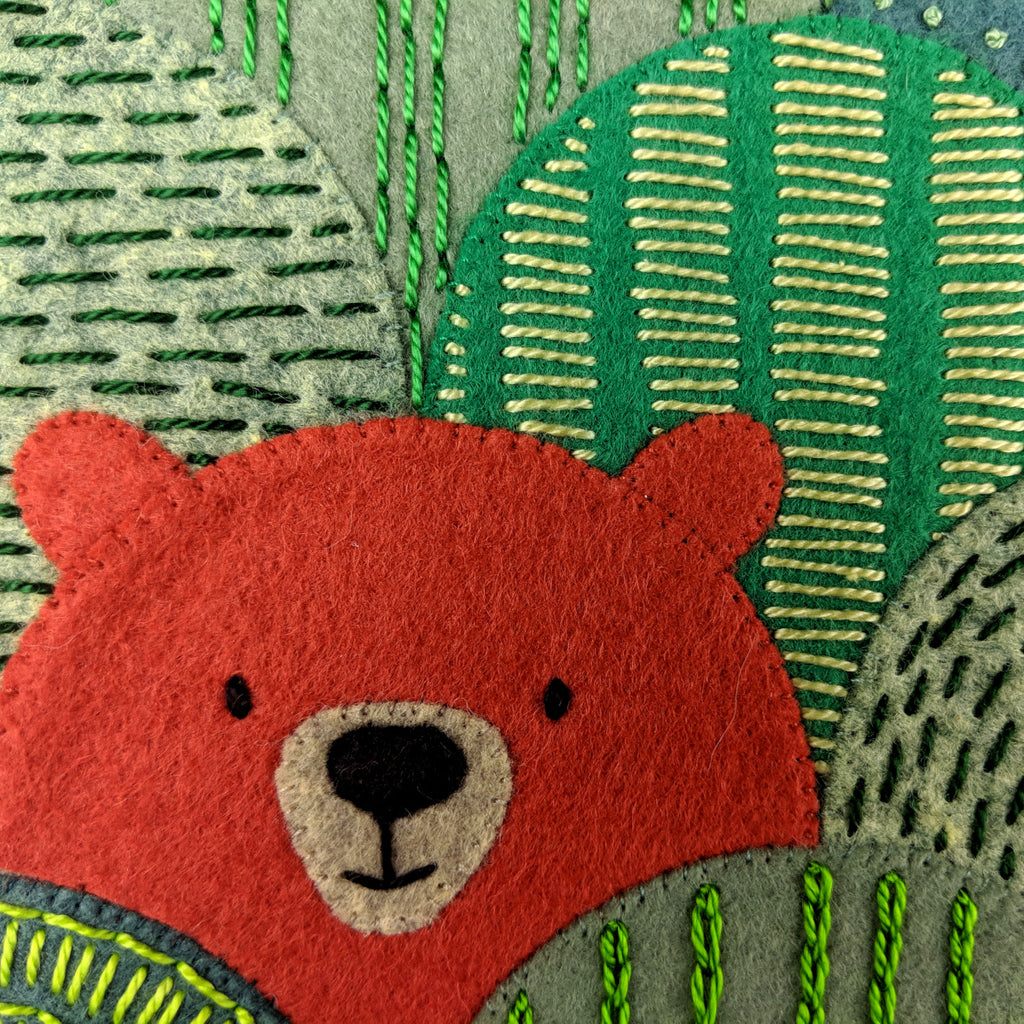


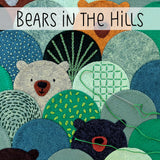
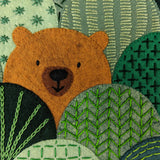
Bears in the Hills
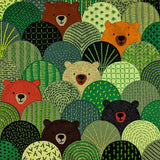
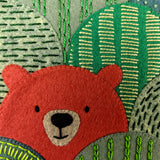
Make a fun felt wall hanging or pillow cover with these adorable bears peeking out of the hills. It's all easy hand stitching - no machine needed.
You can make your finished piece into a wall hanging or a pillow cover - or just about anything else you can think of!
I'll take you through every step of the process with a series of detailed video tutorials - from cutting out the felt pieces to arranging them on your background and doing all the fancy stitching.
We're going to have so much fun!
You Get. . .
- PDF file with full-size pattern pieces for the Bears in the Hills project.
- SVG file with the same pattern pieces designed for Cricut, Silhouette, or other cutting machines. (There's a video included showing how to use these files for a Cricut machine.)
- A PDF with links to detailed video lessons showing every step of the project - from cutting out the pieces and layering them in place, to all the decorative stitches used to embellish the hills.
- Links to tutorials showing how to use your finished piece to make a pillow cover, framed art, or wall hanging.
Size
The sample project makes a 12 inch square piece - but you can easily resize it, either by making your scallops bigger or smaller, or by adding or subtracting scallops.
Difficulty
It's a skill stretcher - but that doesn't mean it's actually HARD. It's just a big project, and doing these kinds of decorative stitching without any marking is probably new to you.
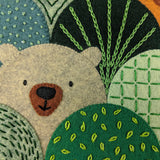
It looks complicated, but I'm a big believer in using the simplest of simple stitches. This whole project uses just simple whipstitch applique and the four most basic embroidery stitches. That's it!
No sewing machine needed - this is the perfect hand-work project for some happy sofa time. :-)
You don't need many supplies for this project - fabric, felt, needle and thread. You can find links to sources for many of my favorite tools and supplies here.
You'll need. . .
- 24 inch square piece of fabric - this is just the base and won't show. Use something from your stash you want to get rid of.
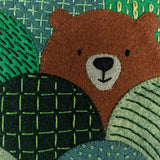
- wool felt - scraps are fine, or get a bunch of shades of green and brown.
- embroidery thread - I'm using a range of greens, plus black for the eyes and mouths. You can use #5 perle cotton or regular 6-stranded DMC floss.
- freezer paper - highly recommended if you're cutting the pieces by hand.
- fabric glue stick - highly recommended for sticking the applique pieces in place in preparation for hand sewing.
- embroidery needles in sizes #1-5 - I like to use a #1 needle for #5 perle cotton.
- 17 inch Q-snap frame - my favorite quilting frame for hand work
This pattern is not available for commercial resale. That means you may not copy and sell or digitally distribute the pattern or any variation of the pattern.
For information about selling something you make using my designs, please see this post.